Dryer Duct cleaning

Every year I remove the vent pipe from behind my dryer and vacuum as much lint as I can. I also vacuum inside the dryer, sometimes removing the lint assembly or front of the dryer to fully clean it. I last did this on May 6.

Recently the dryer started to take longer and longer to dry clothes. Heavy items like bedding never seemed to fully dry.

My dryer has a flow sense meter that indicated the ducts may be partially blocked. Online troubleshooting guides advised that I may need to clean the dryer vent. Or change a few parts. Or buy a new dryer.

I decided to start with a thorough cleaning of the ducts. Since I had just cleaned the pipe from the dryer to the ceiling in the laundry room and the HOA had recently cleaned the exterior of the vent above the roof, I concentrated on the exposed vent pipe in the attic.

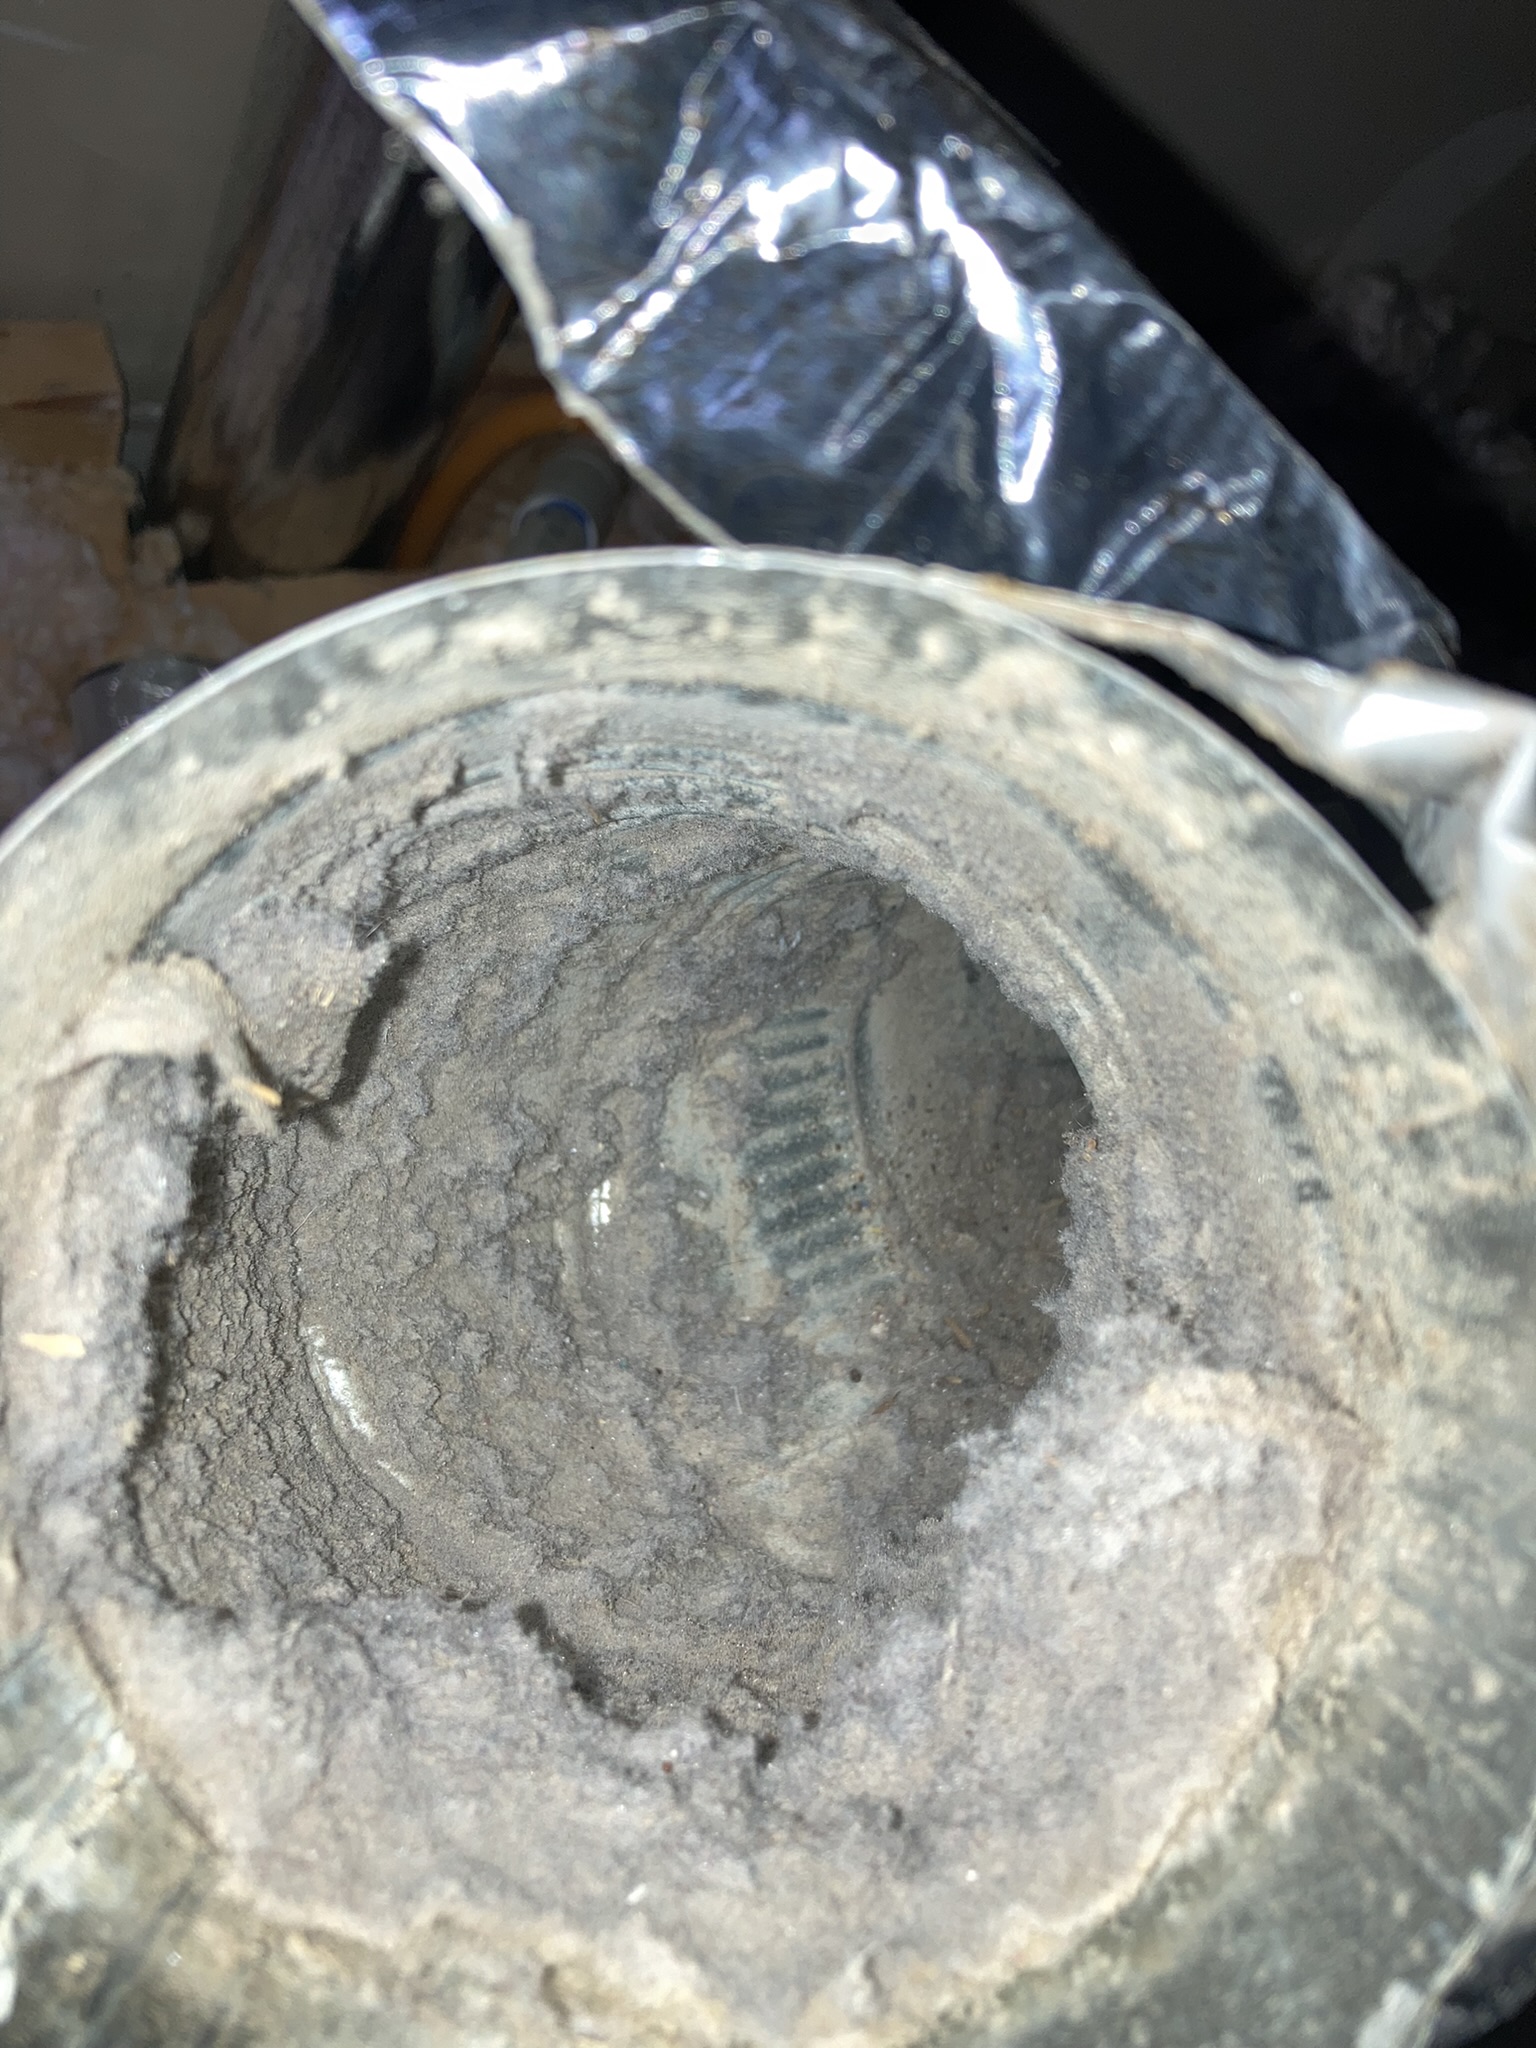
I removed a 4 foot middle section (it was just taped together) and cleaned the exposed pipe and the removed pipe using a special brush and a vacuum. (see photos)

I was shocked at how blocked the vents were. The section just below the roof was about 50% clogged.

This was a easy to moderate DYI project but it took some time. If you do not feel comfortable walking around your attic or if you vent is not as accessibly as mine, I would hire a professional (see hvac cleaning for one recommendation).

Hose bib leaks

All of our hose bibs have vacuum breakers attached to them. Sometimes they are referred to as anti-syphon or backflow devices. They are supposed to prevent water in the hose from going back into the water supply line and are required by code.

You might have noticed water leaking around these devices when you first turn them on or off. The leak should stop after a second or two. This is apparently normal.

If the faucet continues to leak when it is left on, you may need to replace the vacuum breaker. They are not easily removed. They top part of this device is semi-permanently attached to the faucet. My plumbing experts believe it is ‘pinned’ on. Another source said it might be fastened with thread lock.

If you can find where it is pinned, you can use a drill to loosen the breaker. If it is glued on with thread lock, you can use a torch to loosen it.

Neither of those sounded like something I wanted to do.

A third option is to separate the breaker. I was able to unscrew the bottom two thirds. I purchased a new breaker at Geo. Morland, separated it, and screwed it onto the faucet.

This was harder than it sounds, but easier than removing the whole thing and cheaper than a plumber.

I made a poor quality video explaining all of this. Vacuum breaker relaced

Send me a message if you have questions.

Go back

Your message has been sent

Warning
Warning
Warning
Warning.